Système de stabilisateur de table Tab Stab
Français
| Home About Us The System Installation To Order To Reach Us |
| Free Demo |
Installation
procedure
You may wish to
install Tab Stab by yourself.Installing Tab Stab is an easy four-step procedure described below.
A brief video ( 3 minutes) showing the installation is also available.
(Video soundtrack is presently in French. English version available soon)
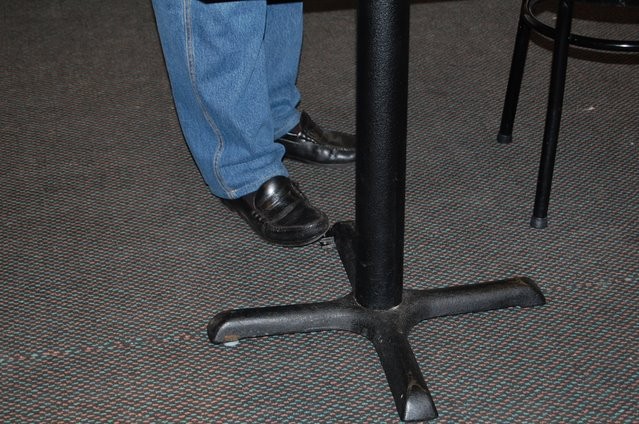
| Step 1: Positioning your table | |
|
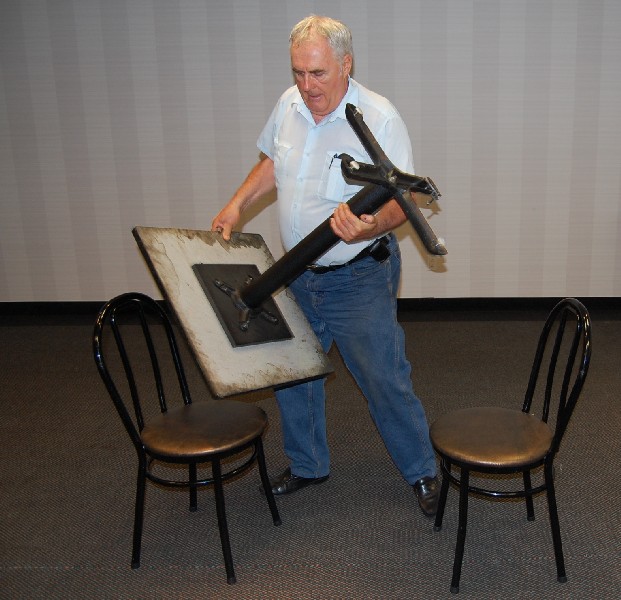 (Click to enlarge) |
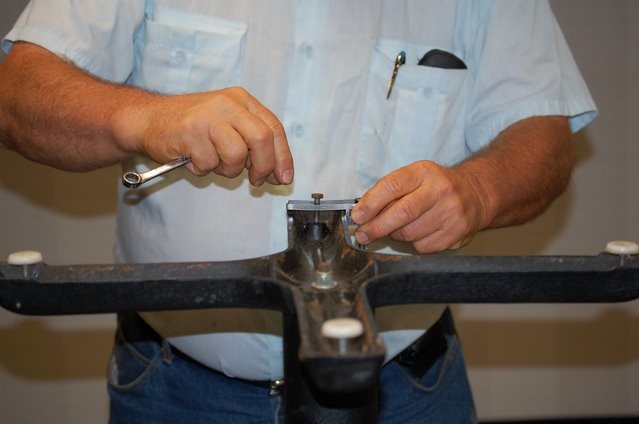
| Step 2: Torquing central bolt | |
|
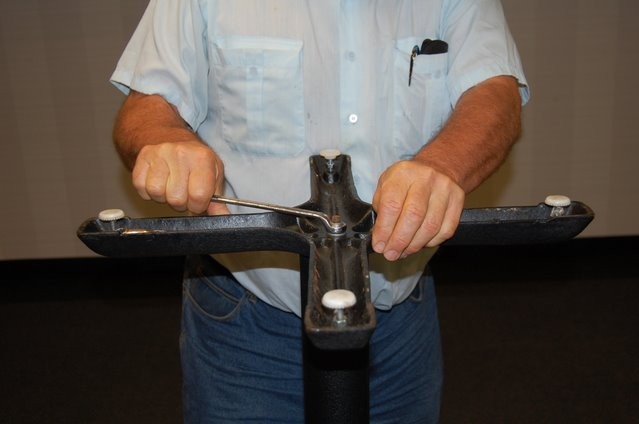 (Click to enlarge) |
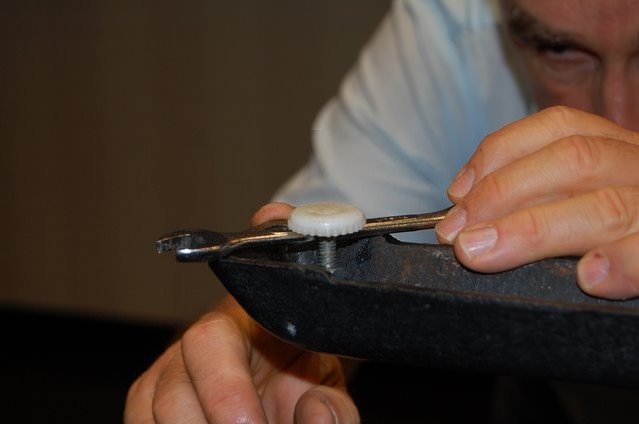
| Step 3: Leveling the glides | |
|
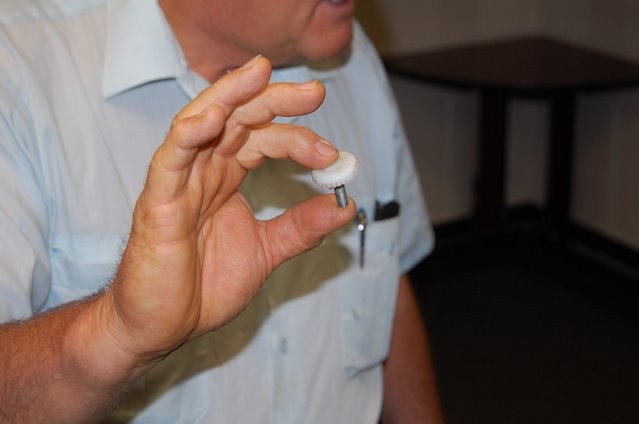 (Click to enlarge) |
|
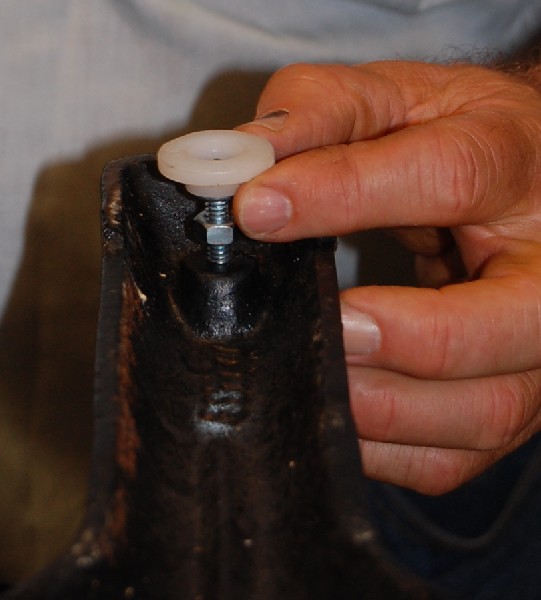 (Click to enlarge) |
|
 (Click to enlarge) |
| Step 4: Installalling and setting the stabilizer | |
|
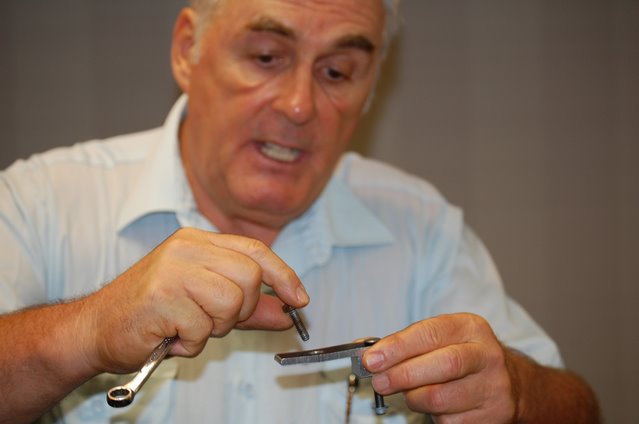 (Click to enlarge) |
|
 (Click to enlarge) |
|
 (Click to enlarge) |
Your table is now:
|
 (Click to enlarge) |
| See also our short video (3 min.) of this installation. | |
|
|
||
| bolduc@tab-stab.com | 418-654-6860 | To Order |